You’d like to try roasting your own coffee beans but you’re not sure you want to spend a lot of money doing it. The good news is you don’t need much to get started. The easiest and quickest way to start roasting beans is with a pan on a stove. You could even do this over a campfire but let’s assume you’re indoor with access to a stove and a cast iron skillet or pan.
Roasting coffee beans in a cast iron skillet is easy to try but difficult to master. Don’t be surprised if you end up with very uneven results the first few times. If you stick with it and practice, you’ll find this is one of the cheapest ways to roast your own beans. Worst case, it provides a good science lesson on the stages of coffee roasting. (For a very detailed description of the stages of roasting, click here)
What You Need
The materials for this roasting method are very simple. You probably already have all of the materials in your kitchen, except maybe the beans. In case you don’t, I’ve included paid links to get the materials on Amazon.
- Green beans – These days, green beans aren’t that hard to find. If you don’t want to buy them on Amazon, you can ask your local specialty roaster if they’re willing to sell you some. Or search for an online store which specializes in green beans (I use Sweet Maria’s). If you’re just trying out roasting, ask for 1-2 pounds of beans. Remember, beans lose about 20% of their weight during the roasting process.
- Cast Iron Skillet – Cast Iron heats up slowly and maintains an even heat. You can use a regular frying pan instead but make sure it doesn’t have a non-stick coating. It helps to have a deep pan because you’ll be slinging the beans around.
- Metal whisk – Ok, you don’t need a metal whisk. You can use a wooden spoon. Something metal or wooden – I don’t recommend plastic.
- Colander – Or cookie sheet. Something you can pour the beans in to quickly cool them down.
- Stove – I almost didn’t list this because it should be assumed. But you’ll need a heat source and if you’re in the kitchen, it’s the stove.
Before You Start
Gather all of your materials before you begin. This roasting method is quick and you’ll risk burning the beans if you’re looking around for something. On the subject of burning, I would open windows and ensure good ventilation. The smoke from the beans is intense. Personally, I disable the smoke detectors in my house while I’m roasting so they won’t go off. Use your own judgment on that, but remember to turn them back on afterwards.
Add Beans and Heat to Skillet
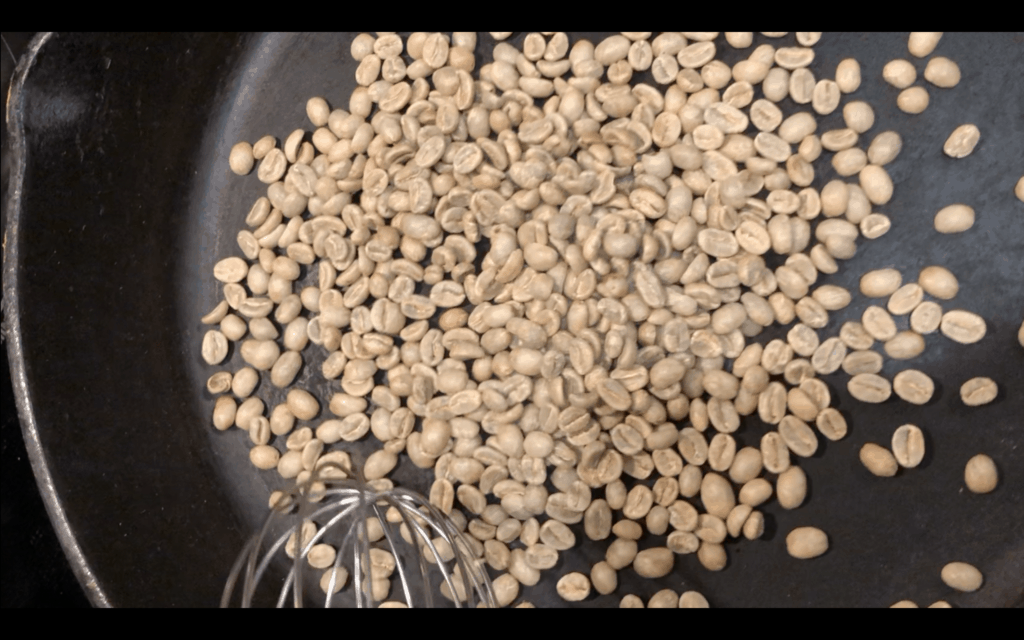
Turn on the stovetop to medium-high and place the skillet on the burner. Add your green, unroasted beans. Start with 4-8 ounces of beans, enough to cover 2/3 of the pan surface. This leaves you room to stir.

Stir!
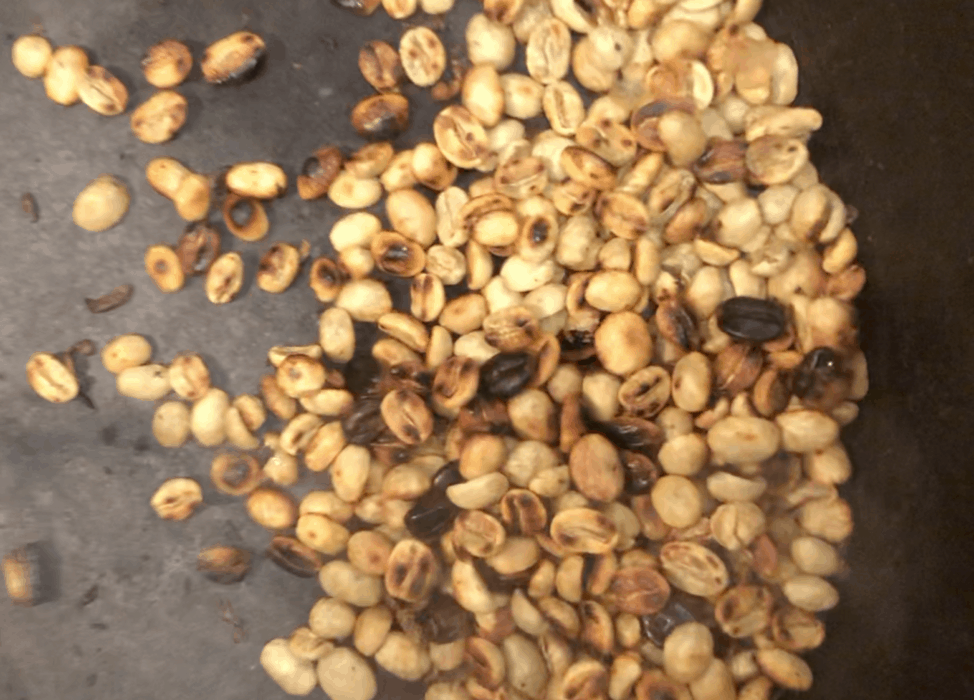
Constant stirring is key to roasting coffee beans in a skillet. Unlike an air roaster or drum roaster, you’ve got a heat source directly touching the beans. Cast iron heats up slowly and maintains an even heat, which is good. But it also is constantly hot. That means the beans you aren’t stirring are burning.
You’ll find the beans quickly move through the drying phase and start to turn from green to yellow to light brown. Continue stirring constantly.

Don’t be surprised if you see tiny sparks in the skillet. This happens because pieces of beans flake off as you’re stirring. If they are small enough and hot enough, they’ll catch fire. Continue stirring.
The first crack comes quickly when roasting with a skillet, much faster than a drum roaster. You’ll probably have first crack after 2-3 minutes depending on the heat and the amount of beans. After first crack, you will see a lot of smoke.
Cool
Once the beans reach your desired roast level, immediately remove them from the heat and transfer to a colander or cool baking sheet. Continue to stir the beans to help cool them faster.
Enjoy
Although you can grind and brew immediately after cooling the beans, you’ll find the taste is better if you wait an hour or two and allow some of the carbon dioxide to dissipate. Enjoy your freshly roasted beans and your new skill.
