You’d like to try roasting your own coffee beans but you’re not sure you want to spend a lot of money doing it. The good news is you don’t need much to get started. You can roast coffee beans in an oven.
Roasting beans in an oven is a simple process. Roasting coffee beans in the oven doesn’t require much skill, but it does require paying careful attention. Beans will go from unroasted to burnt in a matter of minutes. Additionally, beans are extremely hot after roasting and improper handling can result in burns.
What You Need
The materials for this roasting method are very simple. You probably already have all of the materials in your kitchen, except maybe the beans.
- Green beans – These days, green beans aren’t that hard to find. If you don’t want to buy them on Amazon, you can ask your local specialty roaster if they’re willing to sell you some. Or search for an online store which specializes in green beans (I use Sweet Maria’s). If you’re just trying out roasting, ask for 1-2 pounds of beans. Remember, beans lose about 20% of their weight during the roasting process.
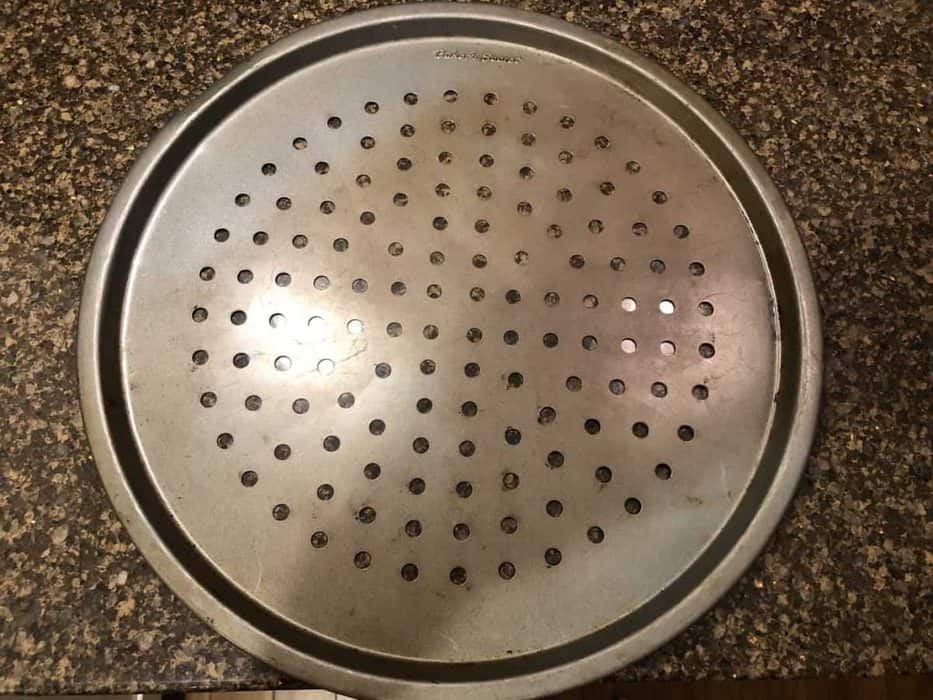
- Metal baking sheet – You want to use a metal baking sheet that has holes in it. Don’t worry if the holes are too big for the beans. There’s an easy solution for that.
- Collander – Or cold cookie sheet. Something you can pour the beans in to quickly cool them down.
- Oven – I almost didn’t list this because it should be assumed. But you’ll need a heat source and if you’re in the kitchen, it’s the stove.
Before You Start
Gather all of your materials before you begin. This roasting method is quick and you’ll risk burning the beans if you’re looking around for something. On the subject of burning, I would open windows and ensure your oven fan works. The smoke from the beans is intense. Personally, I disable the smoke detectors in my house while I’m roasting so they won’t go off. Use your own judgment on that, but remember to turn them back on afterwards.
Prep the Baking Sheet
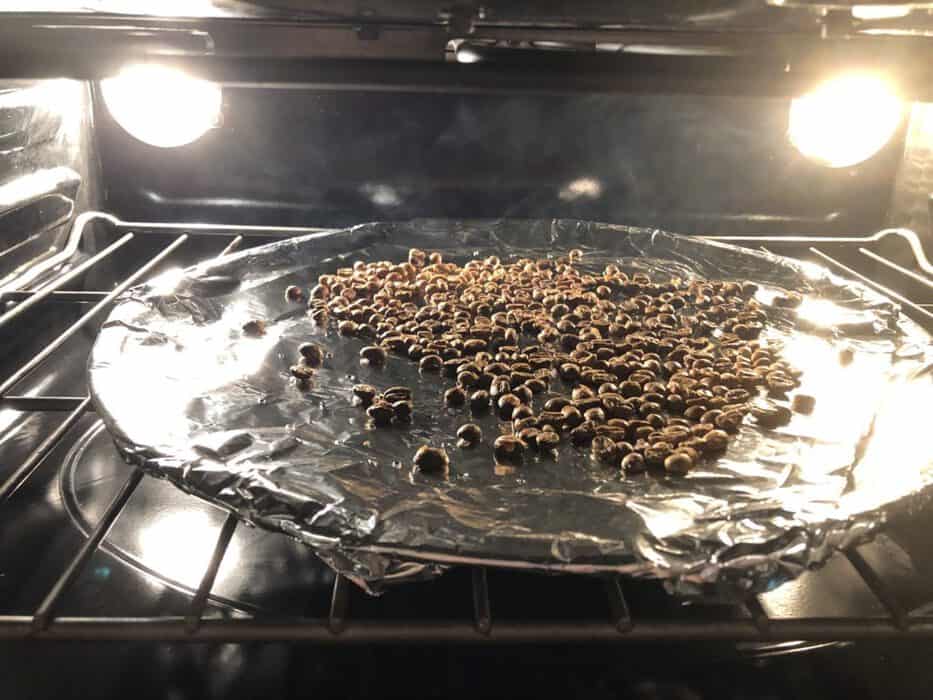
Wrap the baking sheet with aluminum foil. Using a toothpick, poke small holes in the aluminum foil. This is to increase the airflow around the beans. Otherwise, the beans will burn. Once you have poked holes in the aluminum foil, spread a thin layer of beans across the foil. You want to make sure the beans are only one layer deep and not packed too tightly.
Bake (Roast) The Coffee Beans
Set the oven to 450-500° F. You can do this before prepping the baking sheet or after. Pre-heating the oven will speed up the process somewhat. Set the baking sheet in the middle of the oven. Even if your oven has more than one rack, it’s best to limit roasting to one sheet at a time.
Leave your oven light on so you can watch the beans. Watch and listen carefully as they roast to make sure they’re not overdone.
Roasting has more effect on your coffee’s flavor than any other variable in the coffee process. A good roast can make a mediocre bean taste great and make an expensive bean taste horrible. Here’s a quick summary of the roasting stages.
Drying
When you start the coffee roasting process, the beans slowly start to dry out and lose their moisture. They will turn from the olive green color they are as raw beans to a pale yellow, and then begin to brown. The moisture inside the beans evaporates into steam as the beans past water’s boiling point (212° F). This steam can smell like bread.
First Crack
At this stage, the coffee beans continue to heat up. They begin to pop, with a crackling sound like popcorn. This is often referred to as the “first crack,” and it indicates the beans are around 375° F. Watching them through the oven window, you will see the beans actually “pop” up in the air as they reach first crack. It’s hard to judge when each bean has cracked, but you’ll get a sense as the popping subsides.
The beans are now lightly roasted – sometimes known as a cinnamon roast because of the cinnamon-color of the beans. You could stop the roasting process at this point and grind the beans for drinking. But let’s assume you keep going.
Medium Roast
After the first crack, the beans continue to expand. The crack allows them to swell to almost double the size of a green bean in this process. The coffee beans throw off chaff, a thin husk similar to the inner husk of a peanut. Most roasters have a chaff collector, but you’ll have to separate the chaff by hand when you roast in the oven.
Separating the chaff by hand is time consuming and laborious. You may find most of the chaff dissipates if you shake the beans in a colander in the cooling phase. Alternatively, you can just ignore the chaff and grind everything together. It won’t make much of a difference.
The beans are around 425° F now. There’s a lot of smoke generated from the roasting process. The internal sugars of the bean begin to caramelize and the beans will smell like coffee. You have to watch carefully at this point, because the beans will begin to change quickly.
Second Crack
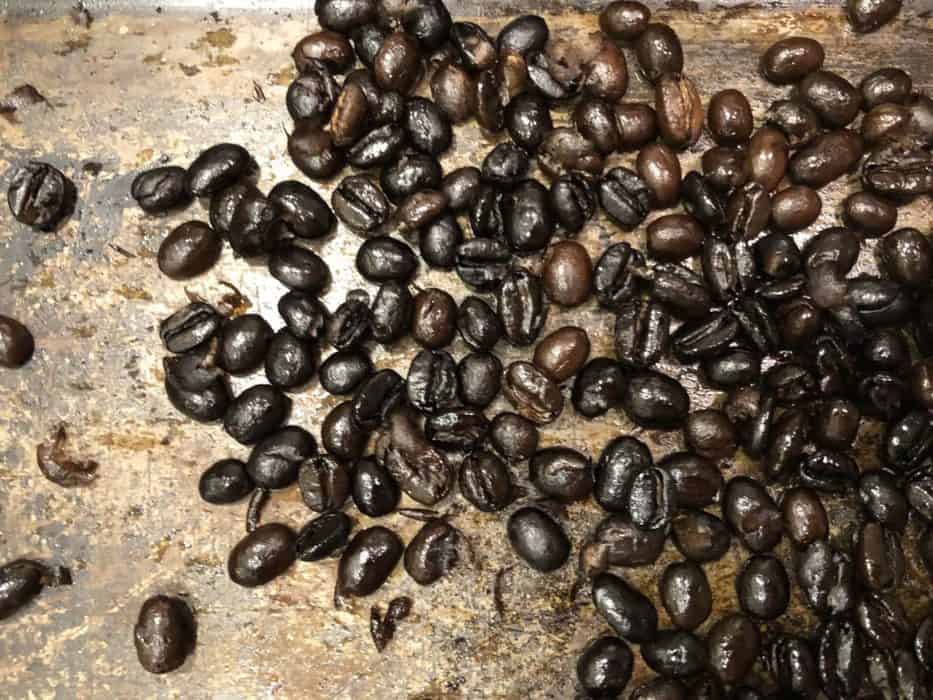
At the second crack stage, seconds can mean the difference between a rich, dark roast and a burnt mess. The beans will make a popping noise again, fainter than the first crack. Their temperature is around 440° F. There’ll be a lot more smoke. The fats within the beans will liquefy and rise to the surface, resulting in an oily sheen.
Cool
Once your beans are as dark as you desire, start the cooling phase. Immediately remove them from the oven and transfer to a colander or cool baking sheet. Continue to stir the beans to help cool them faster. You may want to fan them as well until they’re cool. Do not handle the beans while they’re hot – you will get burned.
Enjoy
You can grind and brew coffee beans once they’re cool, but I recommend letting the beans rest for a few hours or even a day. I typically roast in the evening and then grind and brew the next morning. Letting the beans rest allows them to discharge the carbon dioxide gas generated during the roasting process and evens out the flavor profile of the beans. Store your beans in an airtight container and grind just before brewing. Enjoy your freshly roasted beans and your new skill.